new digs

DSC_0396

We’re finally settled in our new place, and after rearranging furniture, oh, about ten times, I seem to have found our feng shui.  Or at least for now.  The biggest challenge was transitioning from a 1,400-sq-ft open loft space to a 700 sq-ft 1920s-style bungalow – the back half of a duplex, to be precise.  My sweet parents are storing several pieces they and my grandmothers had lent us (two tables, two club chairs, and six dining chairs), but amazingly, everything else fit – including the pallet table.  And while there are certainly things I miss (a dishwasher, the other 700 square feet, and a washer and dryer), there’s a lot to love about the new place.  My favorite things: the lovely eastern and southern light, windows in every room, white walls, and details like bead board and built-in nooks.

The Living Room

This is my favorite room – it’s the largest, and it has the best light.

DSC_0393
DSC_0397

It’s Kyna and Buddy’s favorite room, too.

DSC_0394

This is also the room I rearranged the most, because it does double-duty as my home office.  It took many configurations and, ultimately, a trip to the antique mall to get my little nook worked out.

Some of the early takes.

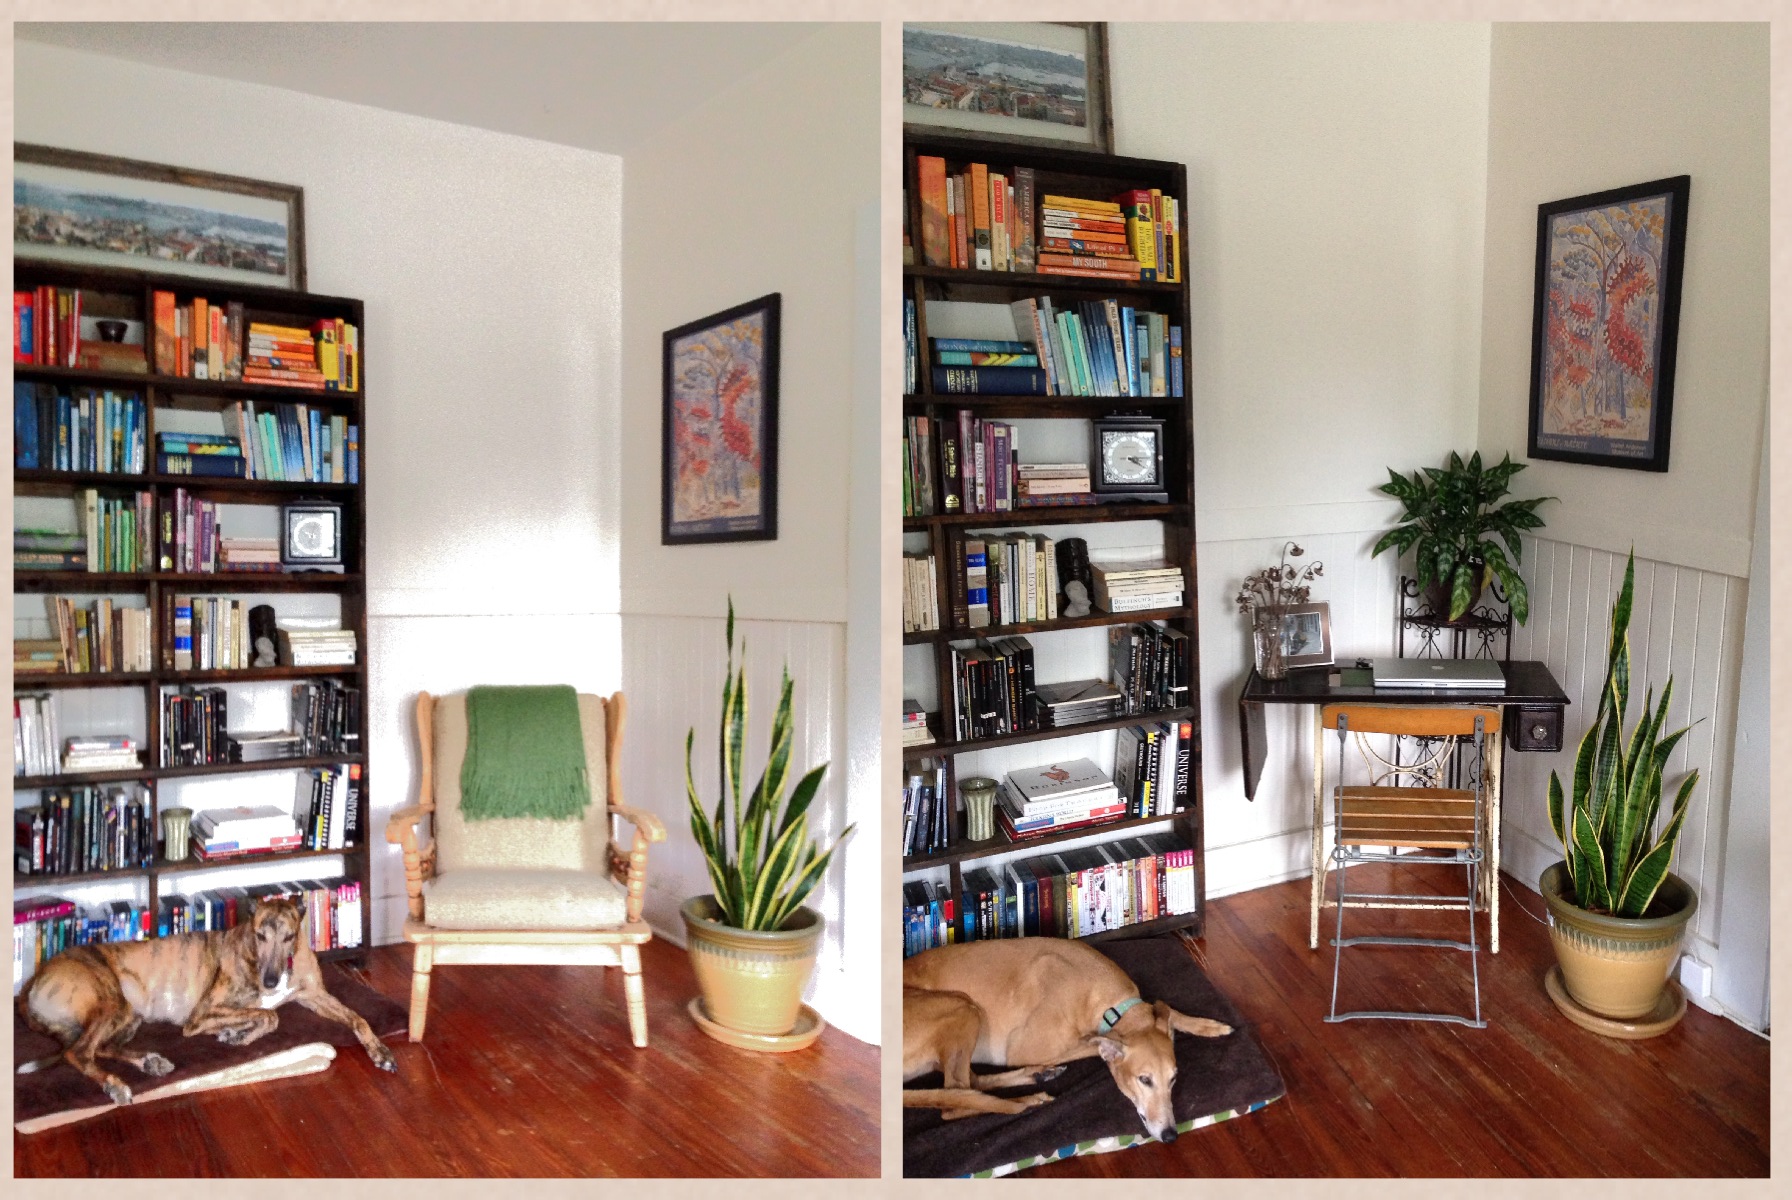
As much as I love that sewing table, it’s really best as a console table.  So I was thrilled to find a little mid-century modern desk for super cheap, and while I hadn’t planned to buy a chair, I couldn’t leave without this little blue Eames-esque desk chair. It needed a little love, though, as someone thought it’d be nice to spray paint it with sparkles. D covered it with several coats of a slightly darker, non-sparkly blue.

DSC_0399

The Halls

I’d gotten so used to our open loft that hallways seemed like a waste of space to me, and I admit that the long hallway here felt claustrophobic to me at first.  Now that we’ve hung pictures and discovered some valuable storage opportunities, I’m feeling their charm again.

That's technically the breakfast room, but it's so tiny that we're using it as a hallway nook.
That’s technically the breakfast room, but it’s so tiny that we’re using it as a hallway nook.
Looking down the hall from the living room end...
Looking down the hall from the living room end…
...and back up.  (That's a tiny, unfinished closet that happens to be perfect for storing cleaning implements.)
…and back up. (That’s a tiny, unfinished closet that happens to be perfect for storing cleaning implements.)

The Study/Music Room

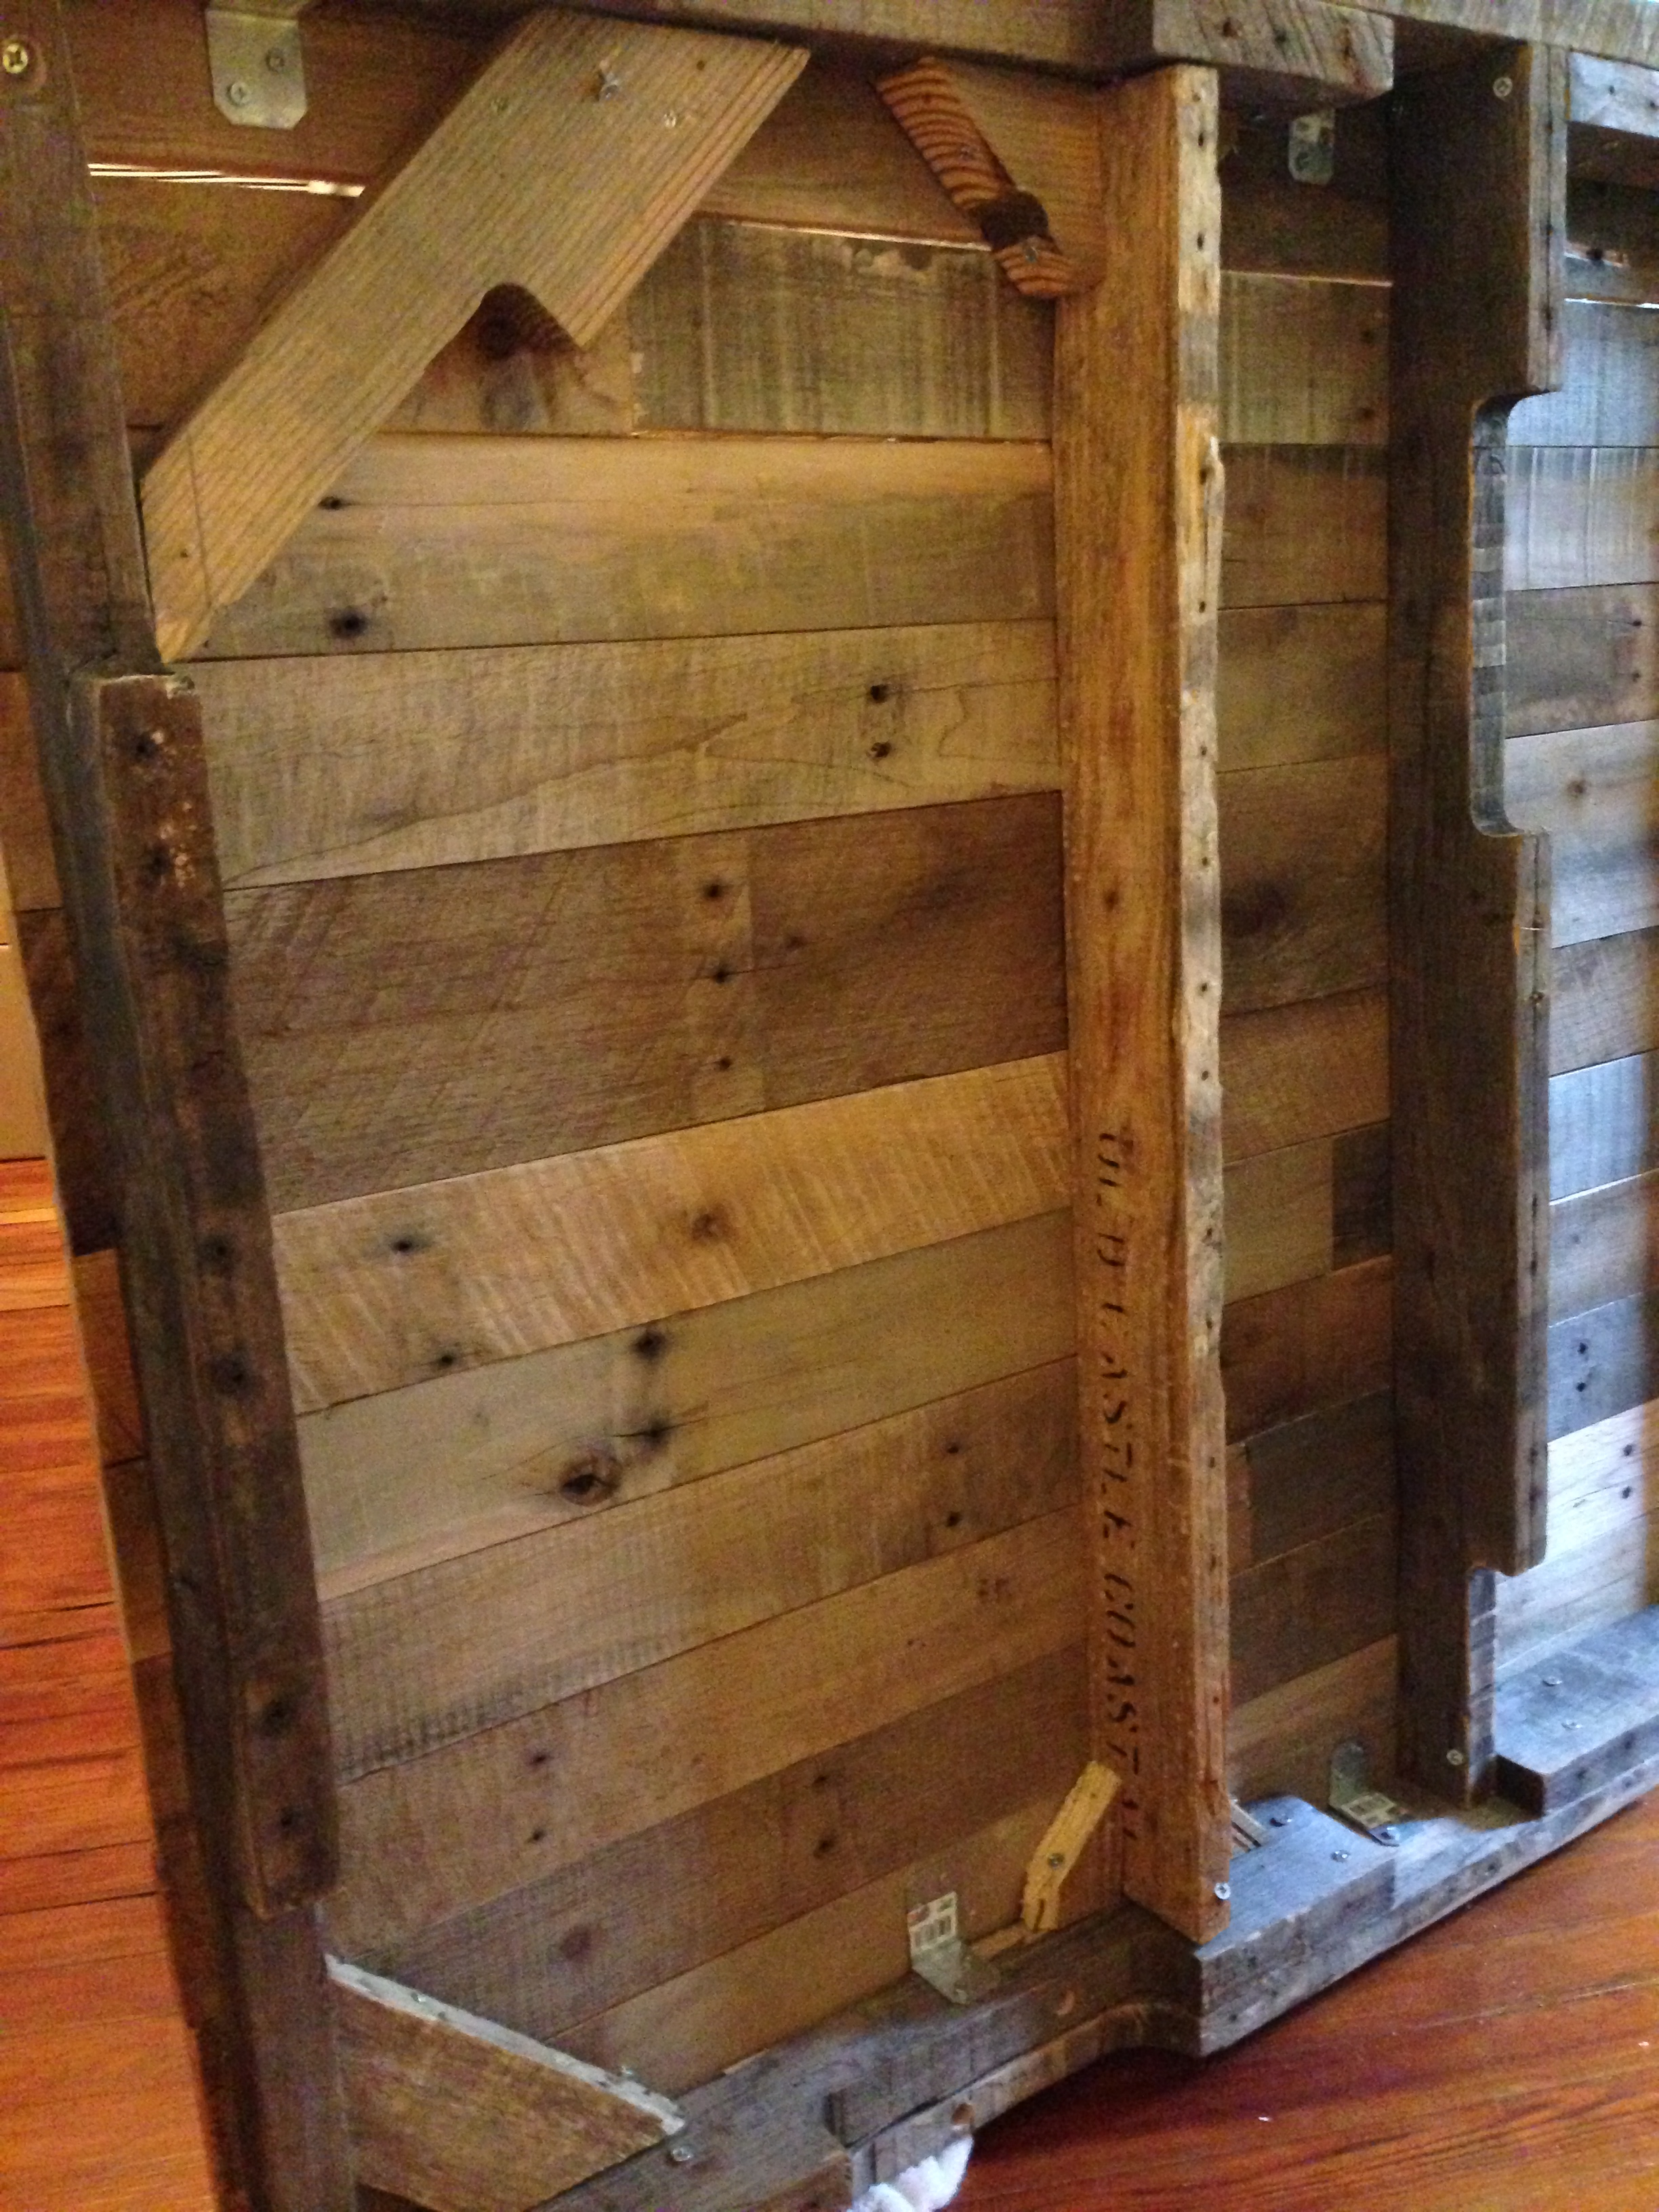
This room (amazingly) hosts the pallet table, which currently functions as D’s desk and is perfect for spreading out plant specimens for identification.  The room also has a tiny closet we’re using as a coat closet (and everything else we can cram in there).  And since the room also houses D’s tools, I hung a throw over an open shelf for storing tool-related odds and ends.

IMG_0379

While most of the room is a working botany lab, there’s a little corner for music. I’m especially happy about storing guitars on the walls. In this place, it’s all about vertical storage.

DSC_0441

The Kitchen

When I first saw the turquoise backsplash and floors in the kitchen, I could have freaked out a little. But instead, I thought of all our red kitchen appliances, and I decided to embrace the quirkiness. And I actually really love the turquoise and red. I also love that there’s plentiful cabinet space (including that semi-awkward nook by the water heater).

DSC_0435

And once again, vertical storage is the name of the game. D had some especially creative solutions: a pallet-wood spice rack, hooks for hanging pots on the wall, and a pallet-wood shelf for storing home-brewing bottles.

DSC_0438
DSC_0440
Fun fact #1: that’s a Murphy-style ironing board to the right of the doorway. Fun fact #2: we don’t iron.

Bedroom

It’s tiny, to be sure, but it’s actually not the smallest place we’ve ever squeezed this bed into.

DSC_0420

And we even managed to recreate the windowsill succulent arrangement, though now they’re on the outside (and happier).

DSC_0428

The closet situation is interesting (read: tiny). Fortunately, having grown up in a 1920s bungalow with small closets, I borrowed a trick from my parents to maximize storage: over-the-door racks. There’s one on every door in this house (except the front and kitchen doors).

DSC_0433

Bathroom

Last and least. Or at least a work in progress. All I’ve done in here (since I took this picture on move-in day) is hang a shower liner, stuff the tiny cabinet over the toilet, and stack more baskets on top of that cabinet.  Perhaps more on this soon.

IMG_0376

So that’s it – all 700 square feet of it!  I have less than two more months here before I head off to grad school, but this will continue to be home for me as long as my loves live here.

farewell to our condo

DSC_0705

We’ve lived here for three years, and we’ve absolutely loved it.  The time has come, though, to say goodbye to this most wonderful place, and at the end of this month, we’ll make the first of two (!) moves this summer.  Our first move will be to a smaller place just a block away from where we are now – a duplex in a charming little bungalow.  That’s where D and the greyhounds will live for the next two years or so as he finishes his graduate work in biology.  At the end of the summer, I will move across the country to start a PhD program.

As sorry as we are to leave our condo, we’re excited about what’s ahead. Even though moving is hard, tedious work, I actually do enjoy the cathartic cleansing and purging that (for us) only happens when we move. And I LOVE an opportunity to arrange furniture and decorate in a new place. (Someone please remind me of all this when I’m hauling the 500th box in 90+ degree heat and humidity!)  Here’s a last look at our condo:

DSC_0710
DSC_0595
DSC_0837
DSC_0820
DSC_0754
DSC_0529
DSC_0814
DSC_0849

shipping pallet dining table

Harvest-style dining table made from shipping pallets.

D made this dining table entirely from carefully disassembled shipping pallets and finished it with a mixture of coconut oil and locally-harvested beeswax. It’s his masterpiece, and I am as giddy as a kid at Christmas.  He’s not new to building: his dad is an accomplished woodworker, and D built the bookshelf and media console in our living room, as well as the standing desk/bookshelf in our bedroom/study – not to mention the two coolest bottle sculptures ever (here and here).

Earlier this summer, we sourced the mostly-oak pallets from a pallet dealer down the road.  (No truck garden plants were harmed in the process!)  We paid $32 for eight pallets, two of which are still intact, and D used some of the pieces to build the containers for our succulent garden.

I love how D preserved the architecture of the pallets, especially in the bracing and in the legs, but created a beautifully streamlined silhouette.

Stamped boards from shipping pallets feature prominently in the dining table design.
The shipping pallet table seats eight comfortably - ten if we're squeezing.

Update

A few readers have requested a photo of the underside of the table, so here it is:

table underside

Another update

When the time came to move our stuff across the country, we knew we wouldn’t have space for our beloved pallet table, but we didn’t want to part with it. D remade it into a desk-sized table that was perfect for our smaller space.

windowsill succulent garden

I’m loving the newest addition to our indoor gardens: windowsill succulents.  On an innocent trip to Lowe’s to look at self-watering pots, we were distracted by a cute little potted arrangement of four succulents.  Then D, ever the green-thumb, said, “We can do this better – let’s plant them ourselves.”  We knew the succulents would be great in our rather-wide windowsills, and when we couldn’t find a suitable planter, we had just the solution: our shipping pallets.

We also happen to have a bunch of shipping pallets lying around for a DIY table project.  The already-sanded wood we’ve harvested from the pallets made the perfect containers for our windowsill garden.

Once the boxes were built, D lined them with plastic (cut from a potting soil bag) and filled them with a mixture of potting soil and perlite.

Once the succulents were settled, we trimmed the edges of the plastic just below the soil line and gave the plants a good soaking via spray bottle.

These little guys soaked up the morning sun.

We built three boxes, one for each window in the bedroom. D had yet another idea: locally harvested rocks to top the soil.  So we trekked into the woods, and we (and by we I mean he) gathered pebbles from a little creek. The pebbles were just the right finishing touch.

Et voilà.

bottle chandelier

Before we even moved our furniture into this condo, we installed our hanging bottle sculpture.  Inspired by an art installation at Anthropologie, our hanging bottles have been a focal point for our space.  We always wanted to add lighting to the bottles (like the Anthropologie piece), but we never got around to it.  There’s nothing like agreeing to participate in a neighborhood home tour to inspire completion of home projects, and D tackled the lighting one afternoon while I was helping decorate the patio of our condo building.

He says the process was fairly simple: he attached a florescent bulb to a wire and attached the wire to the beam and the wall, then painted the wire to match the wall color.  The wire is less intrusive than I’d thought, and the lighting effect is wonderful.

indoor bottle tree

Our newest art installment: a bottle tree. It’s already dressed up for the holidays, but unlike traditional Christmas trees, this one has a new lease on life.

I love the holidays, and I love decorating for the holidays – but for the past couple of years, D and I have been feeling vaguely guilty about purchasing a Fraser fir that met an untimely end and was trucked down from Canada. Plus, taking down a Christmas tree after the holidays is sad. This year, I started researching alternatives to Christmas trees, but nothing really stood out to me. I realized I wanted more than an alternative – I wanted something to be displayed year-round. Enter the bottle tree. When we moved into the condo, we created a hanging bottle tree for the exposed beam above the steps, and yesterday it hit me: I wanted an indoor bottle tree for the exposed brick wall. But I didn’t want to buy any of the materials, and I didn’t want to use iron (a non-renewable resource) for the frame. So I asked D if we could go look for a fallen branch in the recently-cut woods near the construction site at his school, and off we went.

Recently, the school cut all the pine trees in these woods for timber, so we suspected there might be some fallen hardwood branches.
Eventually we came upon this fallen branch, and we knew as soon as we saw that we couldn’t have asked for a more perfect branch.
We hauled it home and began trimming the ends. Our initial goal was just to get it to fit through the door, and we just barely did.

That evening, we went bin diving at Target’s recycling station, the only place in town that recycles glass, to add to our collection. We washed the bottles out and soaked them overnight in hot water and an oxygen cleaner, which made removing the labels much less tedious.

This morning, we set up the branch in our heavy-duty Christmas tree stand, gradually pared down the ends, and added the bottles. To finish the look, I wrapped the stand in burlap (the only purchase made for this project). I couldn’t be more delighted with the result: it has all the drama and scale I was hoping for. And nature truly is the best artist.

Since the holidays are coming, and since we’re participating in our neighborhood’s annual Christmas open house tour, we added lights to our bottle tree. I was afraid they’d look tacky, but D painstakingly wrapped them just around the center branch for just the right amount of shine.

Et voilà! Holiday cheer. (Yes, it’s November. Don’t judge.)

a year of decorating

This month [May 2011] marks our first anniversary in this condo.  We’ve been rather nomadic in our first four and a half years of marriage; we moved four times and have yet to live anywhere longer than a year and a half.  (This condo should break that streak.)  We’ve gone from a fabulous old 1920s house to a 400 square foot apartment in campus housing to an apartment complex to our current abode: a former elementary school that was converted into loft-style condos.

For most of these past four and a half years, my style has been, well, whatever I can get. D and I were both in graduate school for the first three and a half years, so we happily accepted hand-me-downs and supplemented with bargain finds. I didn’t have a defined style. As the years have passed, I’ve learned more about decorating and about my own style. It still doesn’t fit into a neat phrase like mid-century modern, minimalist, modern rustic, vintage, etc. It’s something more like hand-me-down/DIY-chic. It wants to be modern vintage, I think.

At any rate, this first year in the condo has been the most dramatic style evolution yet.

Beginnings

We’ve been wanting to get in this building since we moved here.  We went to a party at another condo in the building, and we got to take a peek at this one then.  But at the time, they were trying to sell it for a price that was out of our range.  One morning, almost two years later, in May of last year, I happened to be looking through ads on Craigslist and saw this condo listed for rent.  We signed the lease that afternoon.  The condo is 1400 square feet: 1 bedroom, 1 bathroom.

Upon signing the lease.
This is what it looked like when the boxes were unpacked.

Everything came straight from our previous apartment – no new purchases.  Below are the sources of the hodge-podge of furniture displayed here.

Living Room

Media console and bookshelf: built by D

Couch and cushions: Unclaimed Furniture, Jackson, MS

Coffee table/trunk and entryway console shelf: Target

Green arm chairs: hand-me-downs (originally from Pier 1)

Rug: Walmart

Kitchen

Appliances and island came with the condo

Stools: Target

Dining Room

Digital piano: Yamaha

Cherry table: hand-me-down (originally hand-crafted for my parents’ breakfast room by a friend)

Cane-bottom chairs: hand-me-downs from my grandmothers (the two on the ends came from my maternal grandmother, and the four in the middle came from my paternal grandmother)

Landing/Nook

Upside-down bottle tree (hanging from beam): DIY

Papasan couch and cushions: Pier 1

Bedroom

Bed: from my grandmother

Matelassé coverlet and pillows: Target

Dark wood desk: hand-me-down from my dad’s office

Desk chair: Pier 1

Papasan chair and cushions: Pier 1

Standing desk/bookshelf: built by D

Rug: Lowe’s

Curtains: came with the condo

Chalkboard: original to the building

A Year Later

Here we are, a year into the condo, and here’s what we’ve got.

So, the papasan furniture and the green armchairs went to my sister for her new post-college apartment.  All rugs went away.  The living room bookshelf is color-organized, or at least somewhat.  The windows got a major facelift.  The piano and wicker trunk (former coffee table) moved into the bedroom, the two desks changed places, the dining table changed its axis, and there’s new furniture in the living room.  (No substantive changes to the bathroom or kitchen.)

New stuff:

White club chairs: hand-me-downs from my grandmother, originally purchased in the 1950s

Pillows on couch and club chairs: Anthropologie

Coffee table: Anthropologie

Bed pillows: West Elm

New curtains: JCPenney

So, there we have it.  Here’s to another year of evolving style.