
D made this dining table entirely from carefully disassembled shipping pallets and finished it with a mixture of coconut oil and locally-harvested beeswax. It’s his masterpiece, and I am as giddy as a kid at Christmas. He’s not new to building: his dad is an accomplished woodworker, and D built the bookshelf and media console in our living room, as well as the standing desk/bookshelf in our bedroom/study – not to mention the two coolest bottle sculptures ever (here and here).

Earlier this summer, we sourced the mostly-oak pallets from a pallet dealer down the road. (No truck garden plants were harmed in the process!) We paid $32 for eight pallets, two of which are still intact, and D used some of the pieces to build the containers for our succulent garden.


I love how D preserved the architecture of the pallets, especially in the bracing and in the legs, but created a beautifully streamlined silhouette.


Update
A few readers have requested a photo of the underside of the table, so here it is:
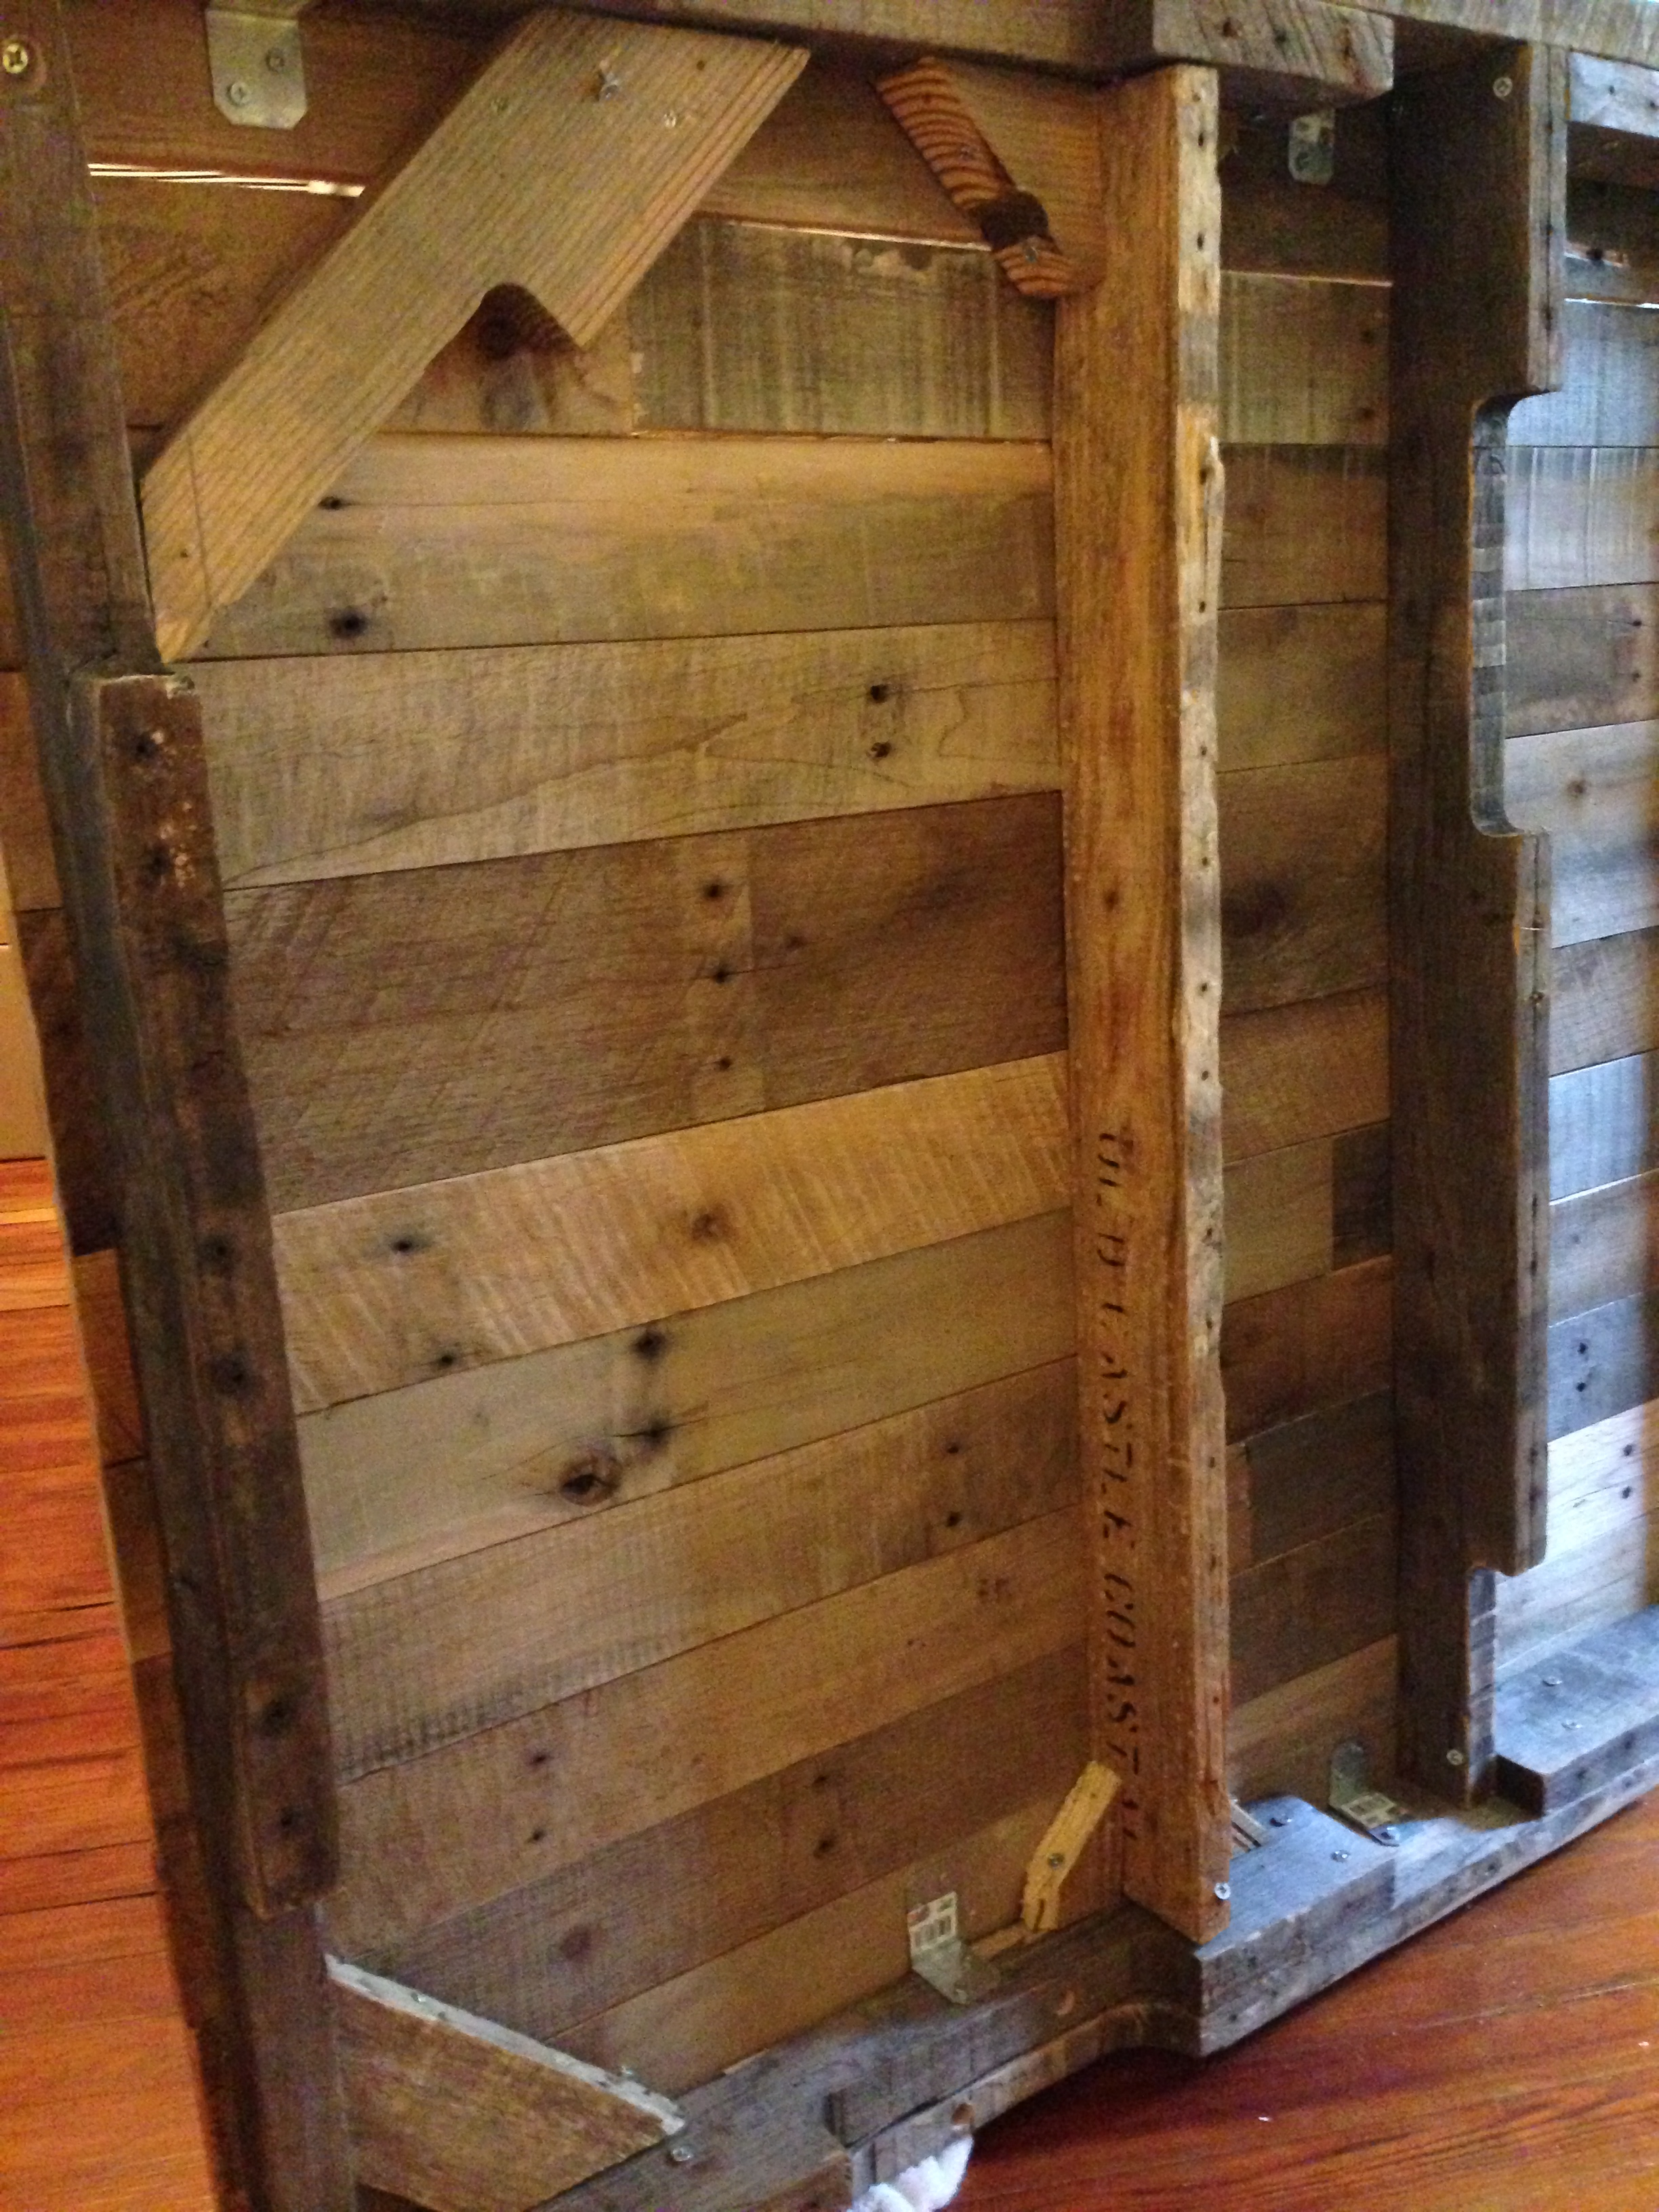
Another update
When the time came to move our stuff across the country, we knew we wouldn’t have space for our beloved pallet table, but we didn’t want to part with it. D remade it into a desk-sized table that was perfect for our smaller space.

This is genius! Beautiful. Nice work.
Great job, Daniel! Like y’alls pad.
Beautiful work, Daniel! Lovely display, Ann! Miss you guys…looking forward to catching up at Christmas.
LOVE THIS! We are going to give it a try!
Thanks – and good luck!
I will be building one soon. Could you possibly snap a few shots under the table or explain how he fastened it together? Really like this, can’t wait to get started.
Hi Kaleb, there’s now a photo of the underside of the table in the post. Good luck!
I agree! I want to start this project soon, but could use a glimpse of the finished underside of the table! Please!!
Hi Brandie, there’s now a photo of the underside in the post. Good luck!
me gusta
I would like to thank Ann for having this blog post as it had inspired us to create our version of this. Beautiful work. Here is a link to our outcome which refers to and thanks Ann for her work and inspiration.
http://ana-white.com/2013/07/shipping-pallet-dining-table
Thanks for the feedback, y’all. I have updated the post with a photo of the underside of the table – hope that helps.
What kind of coconut oil did you use with the beeswax? And what consistency did you mix it at?
what a wonderful project! Have shared with my community of readers who love it! 🙂 clever man!
Love the final product! Great job. How did you attach the top? Did you use finish nails from the top or pocket holes hidden underneath? Like the comment from Anonymous above, I am curious to know the mixture of beeswax and coconut oil.
How did you manage to take appart the oak pallets. My husband seems to be having problems with them breaking and splitting.
Tell him to get a Reciprocating saw with a 12″ blade (bimetal)
That will work for the pallets.
Dunque, ci siamo accordati. Ha chiesto il .Il servizio inizia alle 16, ci va Alberto. Pensa lui alla spesa. Si porta dietro alcuni suoi strumenti ed altri miei.Ci siamo accordati anche per il fatto che si possa fare delle foto e citare sul blog. Mi sembra importante.Ha già pagato. Ho aggiornato il foglio delle cornsveioni.Poi a conclusione, pubblicherò un post con le considerazioni, su Frachef.it
Can you show more detailed pictures of the bottom? I want to build a few of these for my wedding next year so the more detail the better. If you have any tips for me too that would be amazing.
I thought the same thing. I would love to make a table like this for my wedding. Are you a pretty skilled woodworker? I’m not but still would love to give it a try. Do you have any tips for me?
Chelsea,
If your new to woodworking, a good book is very helpful. I have a few, one I recently purchased is Dining Tables: Outstanding Projects from America’s Best Craftsmen (Furniture Projects) by Kim Carleton Graves. A good book on several table styles. Of course, there are quite a few out there, you might find a better one suited for your needs.
Tony
How was the coconut oil and beeswax applied? What order and what proportions? I have the perfect project for one of these and am excited to make one. Thanks for the inspiration!
Im actually in the middle of making this table. What an amazing idea!! I am still a little unsure of a couple things: the bracing on the bottom of the table (any chance you can post a pic of the full bottom of the table?) and how you secured the boards to the table (did you use screws from the bottom or glue?)
Hi mike, did you figure that out? If so pls let me know. Thnx
Mike, you would need at least 2 pieces of hardware, a corner brace, or apron brace to join the aprons to the legs, along with a Mortise and tenon joint, this will sturdy up the table legs to the apron, and to attach the top there are several choices, but one I would use is a desk top fastener, it is a small stamped piece of metal that looks like a figure ‘8’. If you search Amazon for ‘Platte River 866826’ you will see what I mean. The leg brackets are like these: ‘Platte River 892687’
Hi, is the top glued on or nailed? I do not see nails on the top. Thnx
Thank you for the auspicious writeup. It in fact was a amusement account it. Look advanced to far added agreeable from you! By the way, how can we communicate? deeafaebdedd
Hey there! I realize this is somewhat offtopic but I had to ask. ebbefdgcefaf
Great Work. Im going to start mine soon. I had one question. Not that it is to much concern, but with used pallets, are you concerned placing your silver ware or having meal on pallets that have been soiled by unknown contaminates and have unknown pests in them? Did you lightly sand and seal it before having meals on it? I have just been reading multiple post to get ideas and some say sand and seal it and some do not care. Thanks.
I would sand and seal, if nothing more, the sealing and coating with a good finish will give a smoother feel to the table. Polyurethane with a top coat of good furniture paste wax is good too. The wax can be retouched once in a while, bringing back that new luster.
I had saved some pictures of several good looking home made tables, as we are in the market for one, and this one my wife fell in love with. Nothing fancy, but the color contrasts are really great. So I am now needing a few pallets. Thanks for this tutorial.
Heya superb blog! Does running a blog such as this
take a large amount of work? I’ve very little knowledge
of computer programming but I had been hoping to
start my own blog soon. Anyway, if you have any recommendations or techniques for new blog owners please share.
I understand this is off subject however I simply
needed to ask. Cheers!
The dining table has inspired me to do the same. I have a lot of left over wood from previous furniture I have built over the years, oak, mahogany, walnut, cherry etc., and am in the process of sorting al those out and getting ready to cut them to a size to glue together into planks I can plane down, then edge glue all those larger planks together. The legs and apron I will make out of a solid mahogany.
Tony
I blog quite often and I seriously appreciate your information. The article
has really peaked my interest. I am going to take a note of your blog and keep checking for
new details about once per week. I opted in for your Feed too.
What are the measurements for this table???
is there any way I can get step by step directions on how to build this
I was curious if Daniel had detailed plans.My wife would really like this.
This table was the inspiration for the table I built using all my off cuts from years of woodworking. I have about 30 plus species of different woods, common and exotic, in my dining table. I finished it in Nov last year. I was constantly changing my idea of what I wanted, until I saw this and showed it to my wife. You can view my table on my Facebook page if you wish, in the photo/album page.
Building similar table now. I’d like to see underside view of how the legs on yours are attached. Thanks.
The table is awesome I work for a company where I can get all the pallets at no cost and I really want to build 1 for my wife! Is there anyway you could take a pic of the whole underneath side after Daniel was finished with it please.
Love this. This table would go perfect in my new house in just bought.
I love this Table… beautiful!
How tall are the legs 5 ft?
Can you tell me how wide and long this table is.